Cold, creamy cheesecake set over a dark Oreo crust has a way of stealing the whole dessert table, and this no-bake version makes it even easier to pull off. The filling turns silky and light after the whipped cream is folded in, then it firms up in the fridge just enough to slice cleanly without losing that mousse-like texture. The finish is what makes people stop and stare: whipped cream swirls, crushed Oreos, and red and blue sprinkles that look like a little fireworks burst on top.
The trick here is keeping the filling smooth before the whipped cream goes in. Softened cream cheese beats into a lump-free base much more easily, and that matters because once the cream is folded in, you don’t want to keep mixing and deflating everything. A firmly packed crust also helps the slices hold together, especially if you use a springform pan and chill it long enough for the butter in the crust and the cream in the filling to set properly.
Below you’ll find the small details that make this cheesecake easy to slice and easy to decorate, plus a few swaps if you want to adjust the crust or serve it a little differently.
The filling set up beautifully overnight and sliced cleanly the next day. I loved that the Oreo crust stayed firm instead of getting soggy, and the whipped cream topping made it look like a bakery dessert.
Save this No-Bake Fireworks Oreo Cheesecake for a creamy Oreo dessert with a red, white, and blue finish.
The Part That Keeps No-Bake Cheesecake From Going Grainy
No-bake cheesecake lives or dies by the order of operations. If the cream cheese isn’t beaten until completely smooth before the whipped cream goes in, every little lump stays in the final filling, and no amount of folding will fix it. The other trap is overmixing after the cream is added. That knocks the air out of the whipped cream and turns the filling heavy instead of light.
The crust matters for the same reason. Oreo crumbs mixed with melted butter should look like damp sand and hold together when you pinch them. If the crumbs are too dry, the base falls apart; if they’re too buttery, the crust gets greasy and soft. Press it firmly into the pan so the cheesecake has a solid base for slicing.
What the Oreo Crust and Whipped Cream Each Bring to the Table
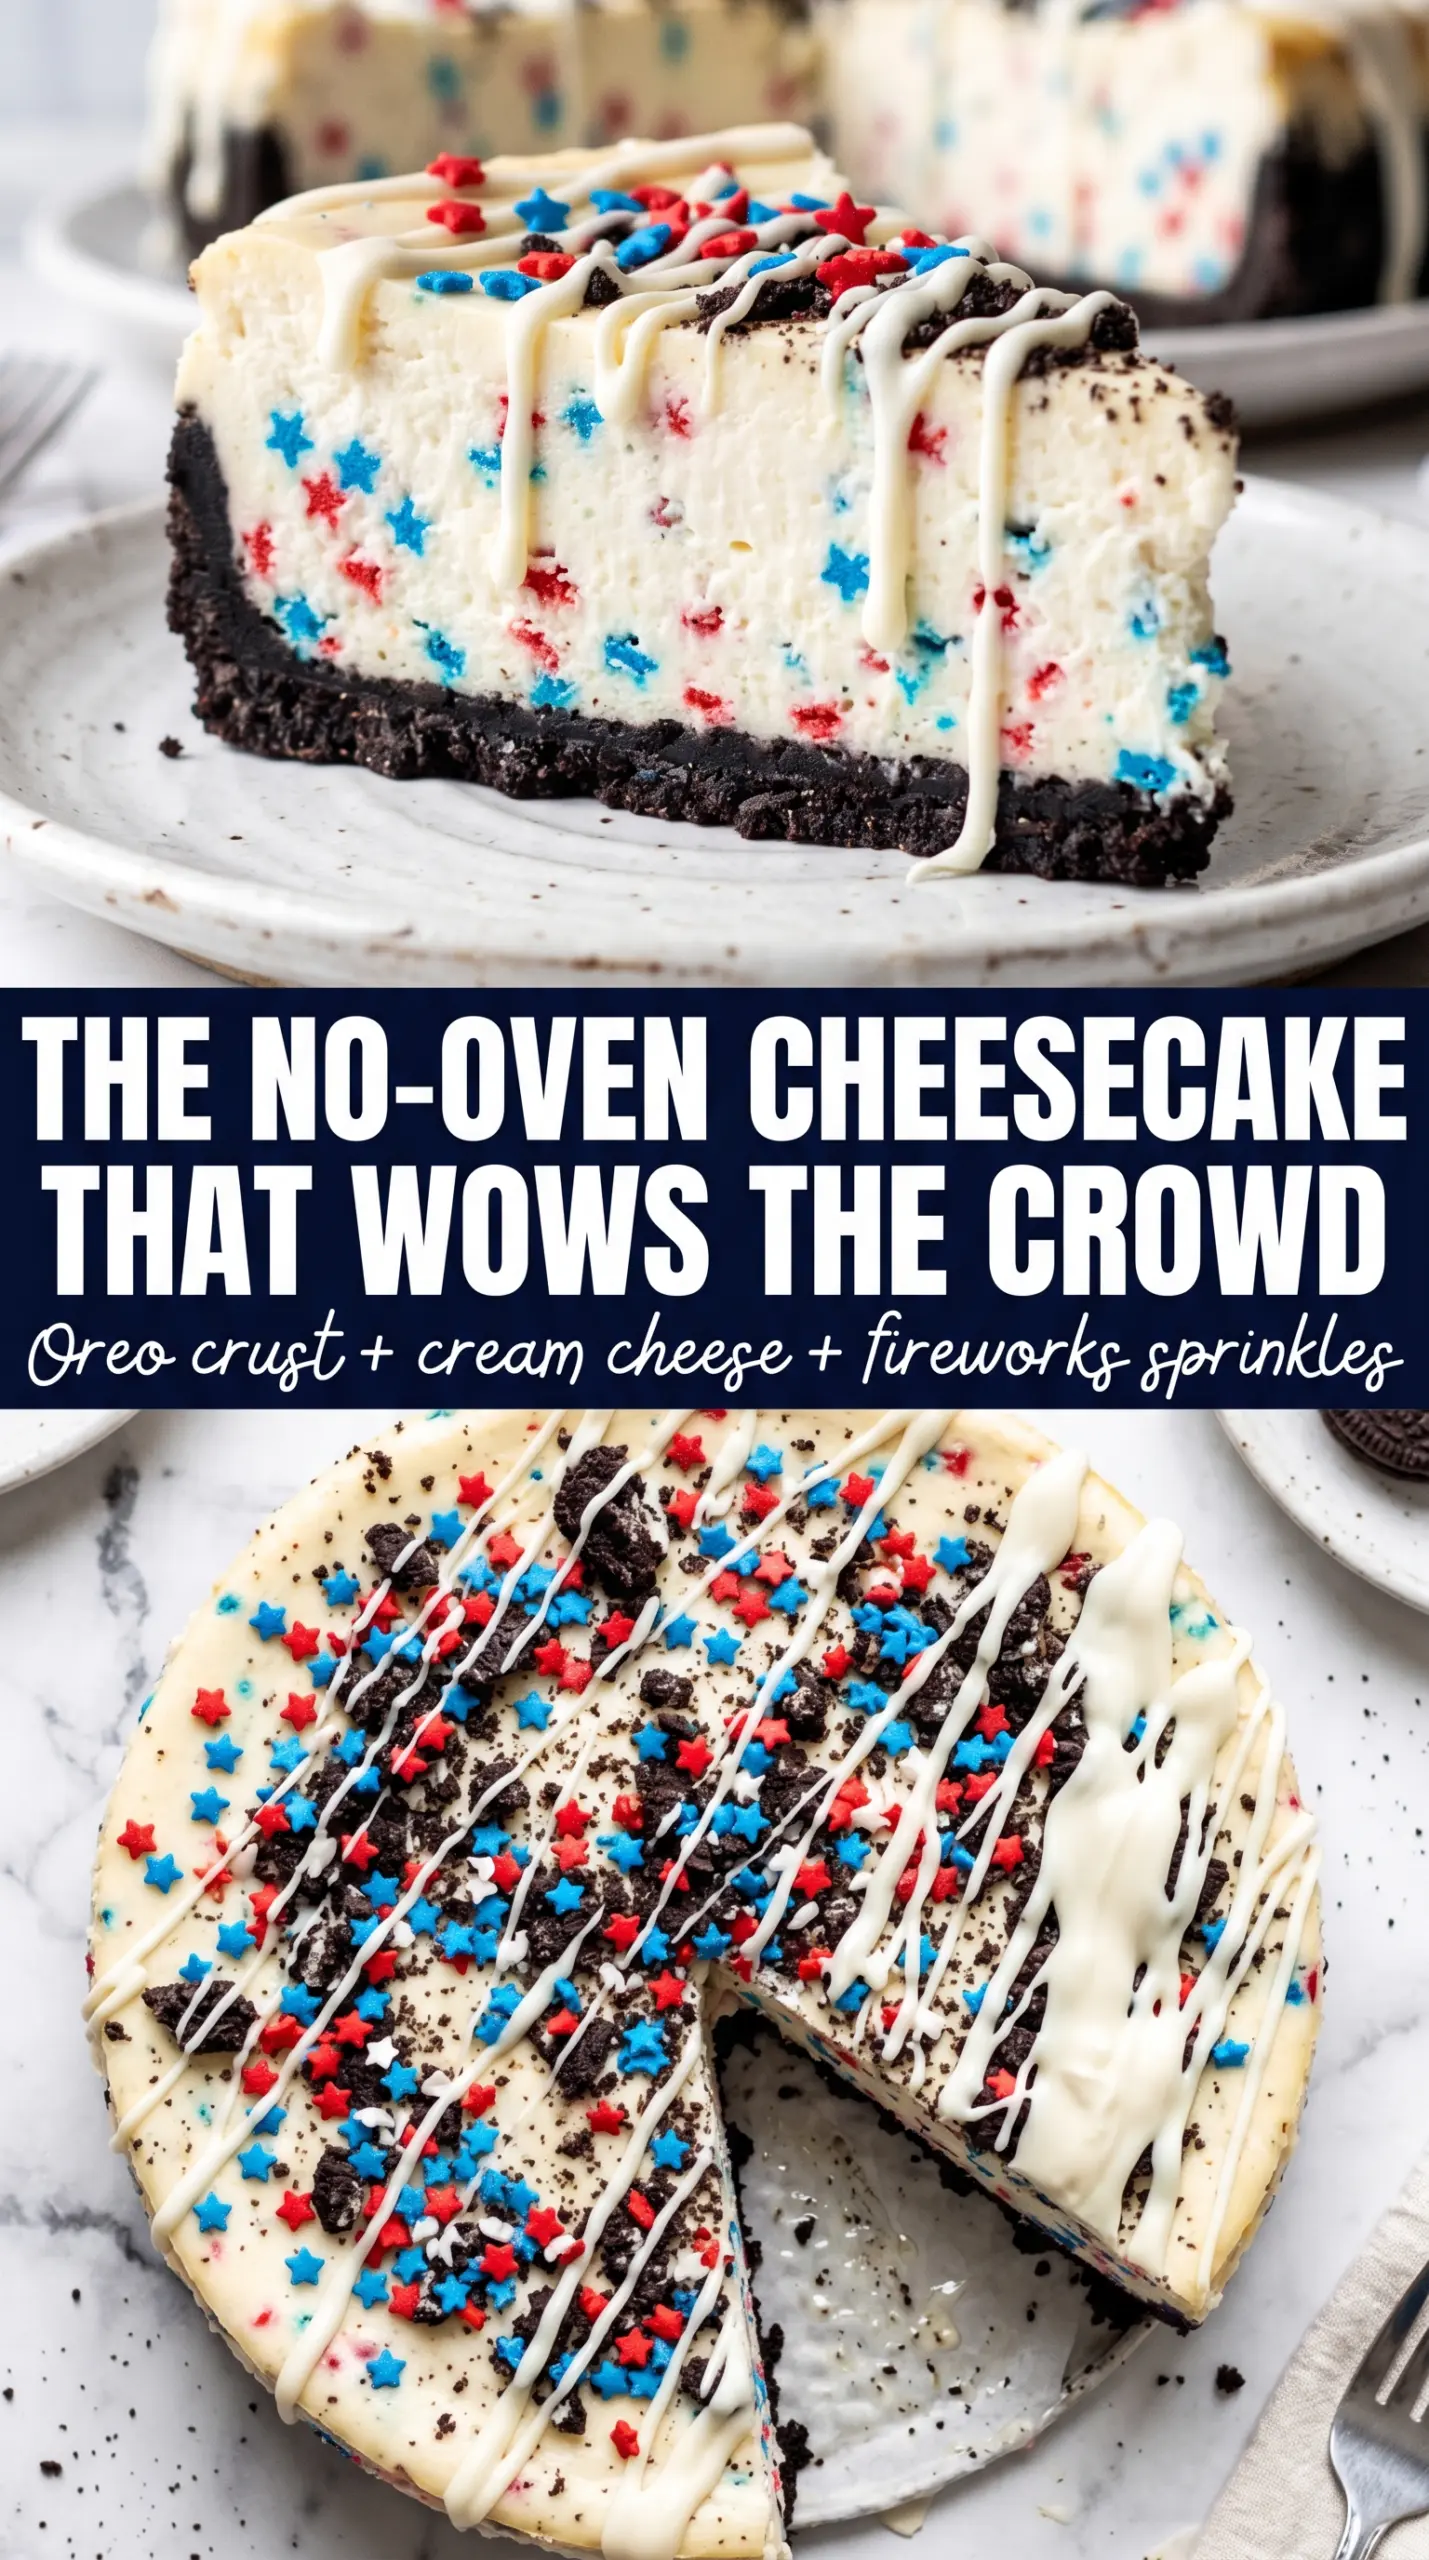
- Oreo cookies — These give you the chocolate cookie flavor and the dark, crisp base that makes the cheesecake taste complete. Crush them fine so the crust packs evenly; bigger chunks make it crumbly when you slice.
- Unsalted butter — This is the glue that holds the crust together. Melted butter works best here because it coats every crumb, but don’t add extra or the base turns oily after chilling.
- Cream cheese — Full-fat cream cheese gives the filling its body and tang. It needs to be softened all the way through, not just barely room temperature, or you’ll end up chasing lumps around the bowl.
- Heavy whipping cream — This is what gives the filling its lift and that cloudlike texture. Whip it to stiff peaks before folding it in; if it’s soft, the cheesecake won’t set as firmly.
- Powdered sugar — This sweetens the filling without graininess. Granulated sugar won’t dissolve the same way and can leave the texture slightly gritty.
- Vanilla extract — Vanilla rounds out the filling and keeps the cream cheese from tasting flat. Use pure vanilla if you can, since this cheesecake has a short ingredient list and every flavor shows.
Building the Filling Without Deflating It
Pressing the Crust First
Mix the crushed Oreos with melted butter until every crumb looks evenly coated, then press the mixture into the bottom of a 9-inch springform pan. Use the bottom of a measuring cup to compress it into a tight, level layer. If the crust is loosely packed, it will shed crumbs when you cut the first slice. Chill it while you work on the filling so the butter starts to firm up.
Beating the Cream Cheese Base
Beat the softened cream cheese, powdered sugar, and vanilla until the mixture looks glossy and completely smooth. Scrape down the bowl a few times, especially along the bottom where cold cream cheese likes to hide in little streaks. If the base still looks slightly lumpy here, those lumps will never disappear later, so this is the moment to fix them.
Folding in the Whipped Cream
Whip the heavy cream to stiff peaks in a separate bowl. Fold it into the cream cheese mixture in two additions, using a wide spatula and a light hand. The filling should end up thick, airy, and uniform, not loose or streaked. If you stir instead of fold, the cheesecake loses volume and sets up heavier than it should.
Chilling Until the Slices Hold
Spread the filling over the chilled crust and smooth the top with an offset spatula. Cover it and refrigerate for at least 6 hours, though overnight gives the cleanest slices and the neatest decoration. If you cut it too early, the center will slump and the crust may separate from the filling when you lift the first piece.
Chocolate Cookie Crust Swap
Use chocolate graham crackers or another chocolate sandwich cookie if you want a different cookie base. The flavor stays in the same lane, but the crust may be a touch less sweet and a little less dark. If you use a cookie with less filling than Oreos, add a teaspoon or two more melted butter so the crumbs still pack properly.
Dairy-Free Version
Use dairy-free cream cheese and a plant-based whipping cream that advertises it can be whipped to peaks. The texture will be a little softer and the tang may read differently, but the cheesecake still sets well if you chill it overnight. Stick with a cookie crust that doesn’t contain dairy ingredients if you’re serving someone with an allergy.
Less Sweet Filling
Drop the powdered sugar slightly if you like a sharper cheesecake flavor. That makes the cream cheese come forward more, but the filling will set a touch less firmly and taste closer to a classic cheesecake mousse than a dessert-shop version.
Make-Ahead and Storage
- Refrigerator: Keep covered for up to 4 days. The crust stays best in the first two days, then softens a little at the edges.
- Freezer: This cheesecake freezes well without the whipped cream garnish. Wrap the whole cheesecake or individual slices tightly and freeze for up to 1 month, then thaw in the refrigerator overnight.
- Reheating: No reheating needed. Serve it cold straight from the fridge, and if it has been frozen, let it thaw slowly so the texture stays creamy instead of watery.
Questions I Get Asked About This Recipe
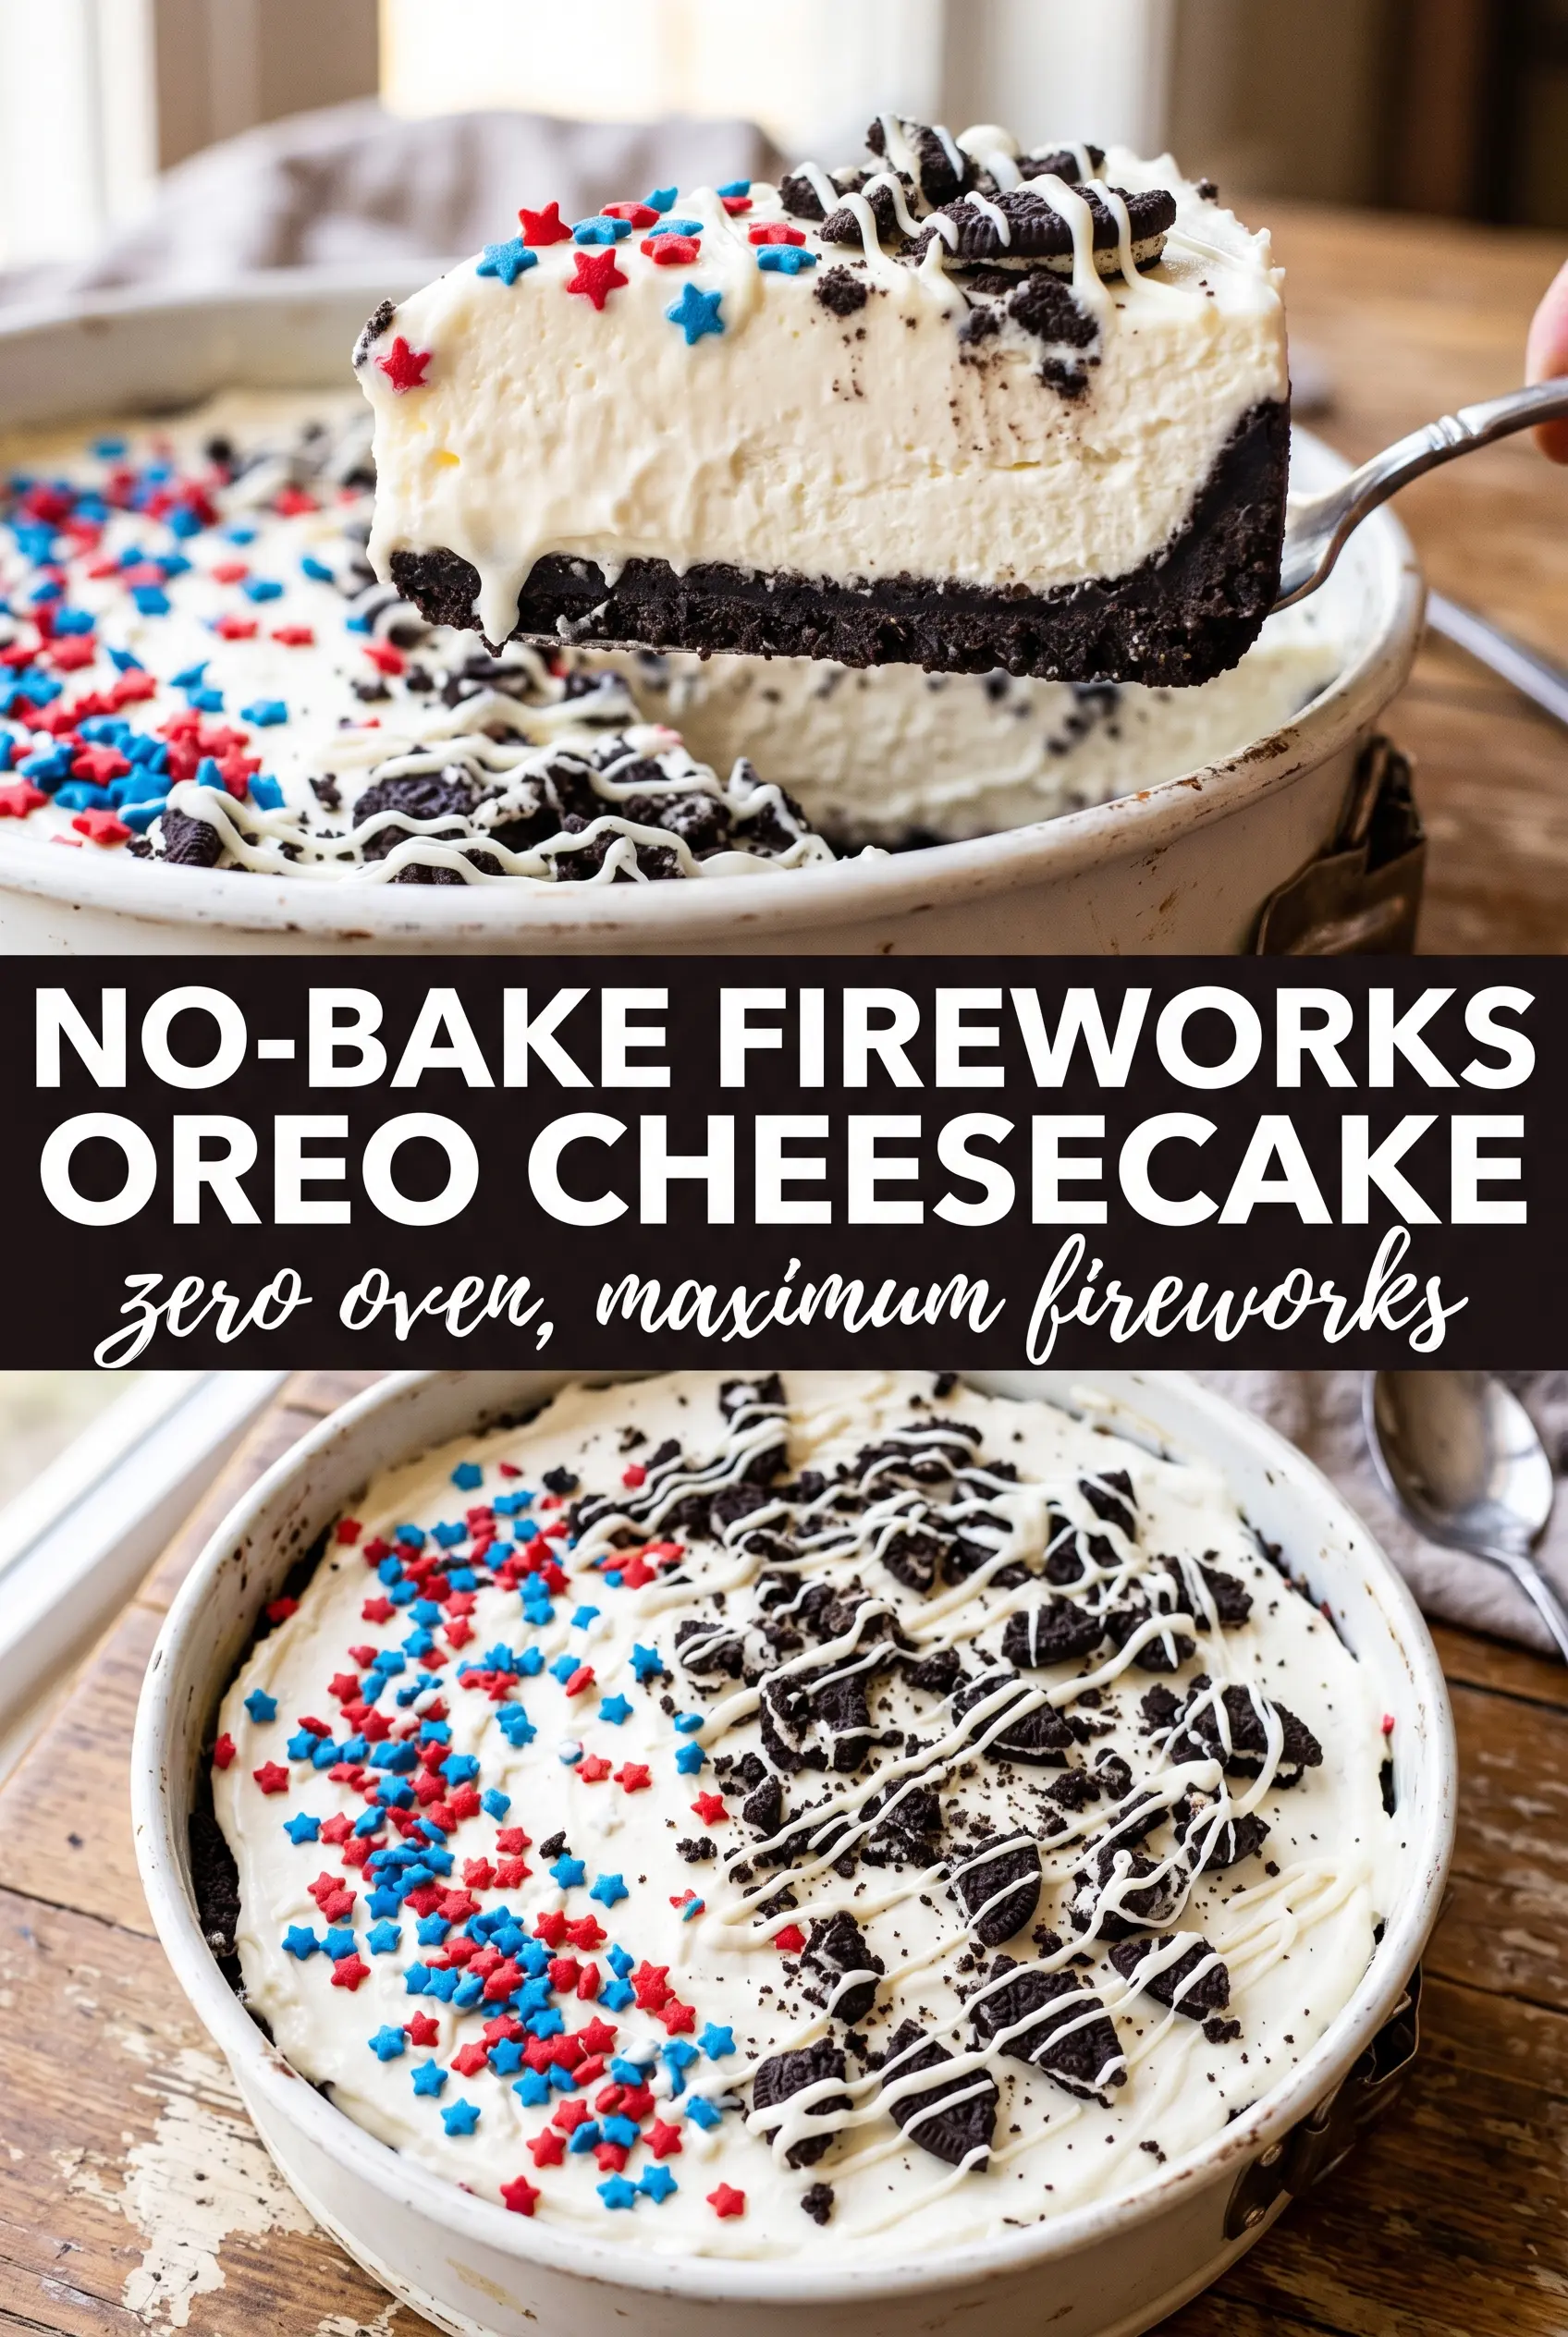
No-Bake Fireworks Oreo Cheesecake
Ingredients
Equipment
Method
- Mix the crushed Oreos with the melted unsalted butter until the mixture looks like wet sand.
- Press the crust firmly into the bottom of a 9-inch springform pan.
- Refrigerate the crust while you prepare the filling.
- Beat the softened cream cheese, powdered sugar, and vanilla extract until completely smooth with no lumps.
- Whip the heavy whipping cream to stiff peaks in a separate bowl.
- Fold the whipped cream into the cream cheese mixture in two additions until fully combined.
- Pour the filling over the chilled crust and smooth the top with an offset spatula.
- Cover and refrigerate for at least 6 hours or overnight until fully set.
- Pipe whipped cream around the edge of the cheesecake.
- Scatter red and blue star sprinkles across the center.
- Dust with crushed Oreos in a fireworks burst pattern before serving.