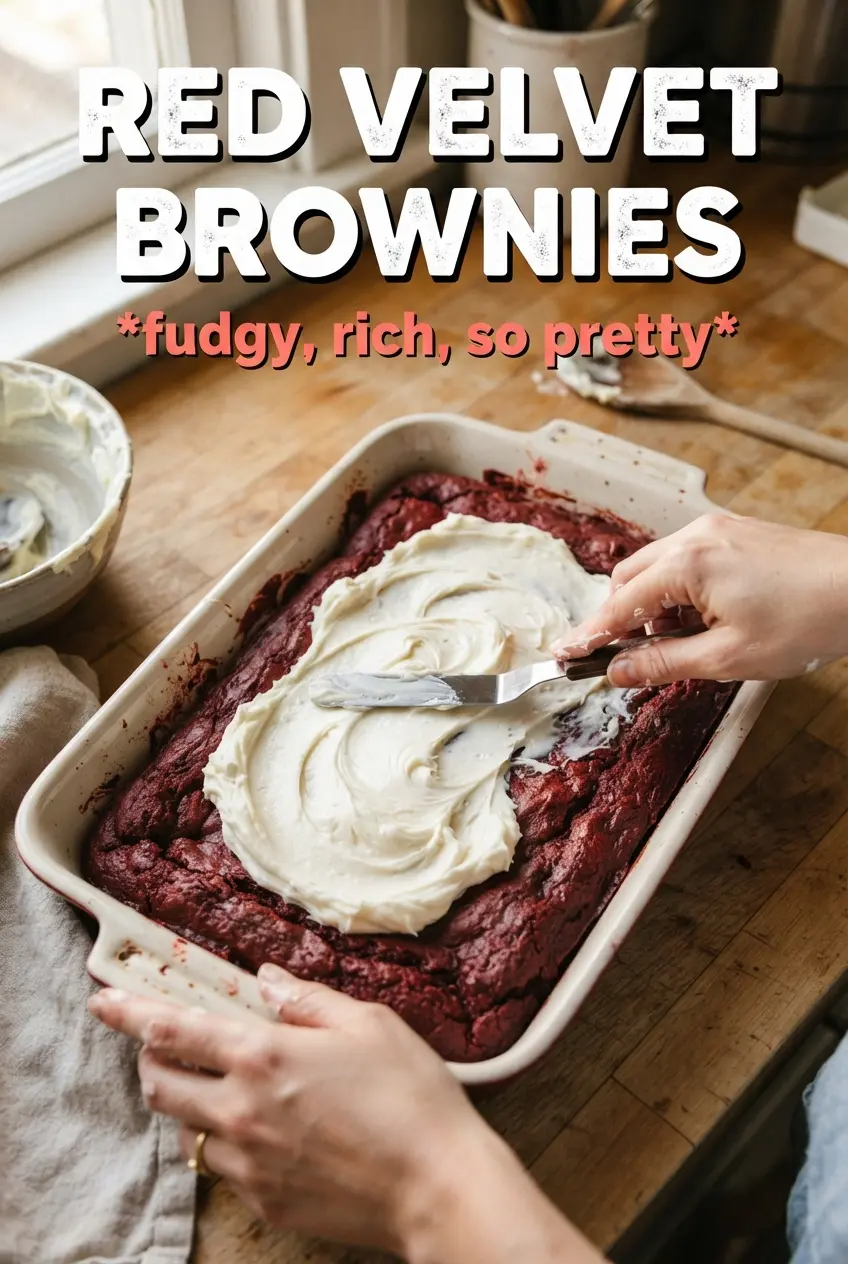
Red velvet brownies land right in the middle of two cravings: the dense, fudgy chew of a brownie and the tangy, vanilla-scented richness of red velvet cake. The best versions cut cleanly but still feel soft in the center, with a deep cocoa flavor and a dramatic cream cheese swirl that stays distinct instead of disappearing into the batter. That contrast is what makes a pan of these disappear fast.
The trick is keeping the brownie batter thick enough to hold the swirl without becoming cakey. Melted butter gives you that dense texture, while a small amount of vinegar sharpens the cocoa and nudges the red color in the right direction. The cream cheese layer needs to be smooth and dollopable, not runny, so it sits on top long enough to marble instead of sinking.
Below, you’ll find the part that matters most: how to get a bold red color without watering down the batter, how long to bake for fudgy centers, and what to do if your swirl starts to blend in instead of staying dramatic.
The brownies came out fudgy in the middle with that perfect tang from the cream cheese swirl, and the edges set up just enough to cut clean squares once they cooled.
Love the fudgy red velvet brownies with that cream cheese swirl? Save this one for the days you want a dramatic dessert with clean slices and a soft center.
The Swirl Is What Keeps These Brownies From Reading Like Plain Chocolate Bars
Red velvet brownies can turn flat fast if the batter is too loose or the swirl is too thin. The brownie base here needs enough body to support the cream cheese layer, which is why melted butter and a moderate flour amount matter more than extra cocoa or extra liquid. Too much cocoa and you lose that red velvet character; too much flour and the bars start tasting like cake.
The cream cheese mixture is the other place where people go wrong. If it’s lumpy, it won’t marble cleanly. If it’s overbeaten after the egg goes in, it can puff and crack as it bakes. You want it smooth, glossy, and thick enough to hold on the surface in generous dollops.
- Melted butter — This gives the brownies their dense, fudgy bite. Softened butter won’t give you the same glossy batter or chewy finish.
- Vinegar — It sharpens the cocoa and helps the red color look deeper. Don’t skip it unless you’re willing to trade some of that classic red velvet note for a more standard brownie flavor.
- Cream cheese — Full-fat cream cheese holds its shape best and gives the swirl its tang. Reduced-fat versions tend to loosen during baking.
- Red food coloring — Gel coloring gives the strongest color with the least liquid, but liquid food coloring works if you use the full amount listed and accept a slightly softer red.
Building the Batter and the Swirl Without Losing the Fudge Factor
Whisking the Base
Start with the melted butter and sugar, whisking until the mixture looks glossy and a little grainy, not fully smooth. That texture helps create the shiny top people love on brownies. Add the eggs, vanilla, and food coloring next, and whisk until the color looks even. If the batter still looks streaky before the flour goes in, the finished brownies will have pale patches.
Bringing in the Dry Ingredients
Fold in the flour, cocoa powder, vinegar, and salt just until the batter comes together. Stop as soon as you no longer see dry flour. Overmixing after the flour goes in is the fastest way to turn fudgy brownies into something bready and tight.
Mixing the Cream Cheese Layer
Beat the cream cheese, sugar, egg, and vanilla until completely smooth. Scrape the bowl and beat again for a few seconds so there aren’t any hidden lumps. If the mixture looks runny, it will sink into the brownie batter instead of sitting on top, so keep it thick and silky rather than loose.
Swirling and Baking
Spread the brownie batter into the pan, then dollop the cream cheese mixture over the top in spoonfuls. Drag a knife or skewer through just a few times to make ribbons, not a full blend. Bake until the center is set and the edges pull slightly from the pan; if the middle still looks wet, give it a few more minutes and check again. Overbaking dries out the swirl first, then the brownie layer.
How to Adapt These Red Velvet Brownies for Different Kitchens and Occasions
Gluten-Free Version
Use a good 1:1 gluten-free baking blend in place of the all-purpose flour. The texture will be a little more tender and slightly less chewy, but the brownies still hold up well because the batter is naturally rich and dense.
Dairy-Free Swirl Swap
Use a dairy-free cream cheese substitute that lists itself as baking-friendly. The swirl won’t taste quite as tangy or set quite as firmly, but it will still give you that marbled look and a creamy top layer.
Extra-Deep Chocolate Flavor
If you want the cocoa to push harder against the sweetness, use a dark cocoa powder and keep the vinegar in place. That gives the brownies a deeper, slightly more grown-up edge without changing the structure.
Storage and Reheating
- Refrigerator: Store covered for up to 5 days. The brownies firm up in the fridge, which actually makes the slices cleaner.
- Freezer: They freeze well. Wrap individual squares tightly and freeze for up to 2 months, then thaw in the refrigerator.
- Reheating: Warm a square in the microwave for 10 to 15 seconds if you want the center soft again. Don’t heat too long or the cream cheese swirl can turn greasy and the brownie loses that fudgy bite.
Answers to the Questions Worth Asking
Red Velvet Brownies
Ingredients
Equipment
Method
- Preheat the oven to 350F, then line a 9x13 pan with parchment paper for easy lifting.
- Whisk the melted butter and granulated sugar until smooth, then whisk in the eggs, vanilla, and red food coloring until evenly red.
- Fold in the all-purpose flour, cocoa powder, white vinegar, and salt until just combined with no dry streaks.
- Spread the batter evenly into the lined 9x13 pan.
- Beat the cream cheese, sugar, egg, and vanilla until smooth.
- Dollop the cream cheese mixture over the brownie batter, then swirl it through with a gentle figure-eight motion.
- Bake for 25-30 minutes at 350F, until the center looks set and a toothpick comes out with moist crumbs.
- Cool completely before cutting so the cream cheese swirl firms up and the brownies slice cleanly.