Pillowy brioche donuts have a way of stealing the show before the pie ever hits the table. The dough fries up light and airy with a tender, buttery crumb, and the three fall glazes turn each one into a little holiday project: pumpkin spice for warmth, maple for depth, and cranberry for a bright tart finish. They look festive, but the real win is the texture — crisp at the edges, soft in the middle, and sturdy enough to hold glaze without going soggy.
What makes this version work is the brioche dough itself. Eggs and butter give the donuts that rich, almost cake-like softness, while bread flour keeps enough structure for a good rise and clean frying. The dough needs a long enough knead to go glossy and elastic, and the butter has to go in gradually so it blends instead of smearing the dough into a greasy mess. Frying at the right temperature matters just as much; too cool and the donuts absorb oil, too hot and the outside colors before the center cooks.
Below, I’ve included the small details that keep the dough easy to handle, plus a few smart swaps for the glazes if you want to lean more pumpkin, maple, or cranberry.
The dough rose right on schedule and the donuts fried up with that soft, pillowy center I was hoping for. I used the maple glaze on half and the cranberry glaze on the rest, and both set beautifully without running off.
Save these Thanksgiving brioche donuts for a holiday dessert tray with pumpkin spice, maple, and cranberry glaze.
The Dough Needs Structure Before It Gets Rich
Brioche dough can turn slack fast if the butter goes in too early or the flour doesn’t develop enough gluten first. That’s the mistake that leaves you with sticky rounds that spread instead of puffing. Start by building the base dough until it looks cohesive and elastic, then work in the butter gradually so it emulsifies instead of coating the flour.
Once the dough feels smooth and slightly tacky, not wet, it’s ready for the first rise. If it still tears when you stretch a piece between your fingers, it needs a few more minutes of kneading. Bread flour matters here because it gives the donuts enough backbone to hold their shape during proofing and frying.
- Bread flour — The higher protein content gives the dough strength, which is what keeps these from turning bready or collapsing in the oil. All-purpose flour will work in a pinch, but the donuts will be a little less chewy and may puff less dramatically.
- Softened butter — This is what makes the crumb tender and rich. Cold butter won’t disappear into the dough evenly, and melted butter will make the dough greasy instead of silky.
- Eggs — They add richness, color, and structure. Room-temperature eggs blend in more easily, which helps the dough come together without overmixing.
- Pumpkin pie spice — It gives the dough a warm background note that matches the glazes. You don’t need a heavy hand here; the spice should support the donuts, not overpower them.
Frying, Glazing, and Getting the Finish Right
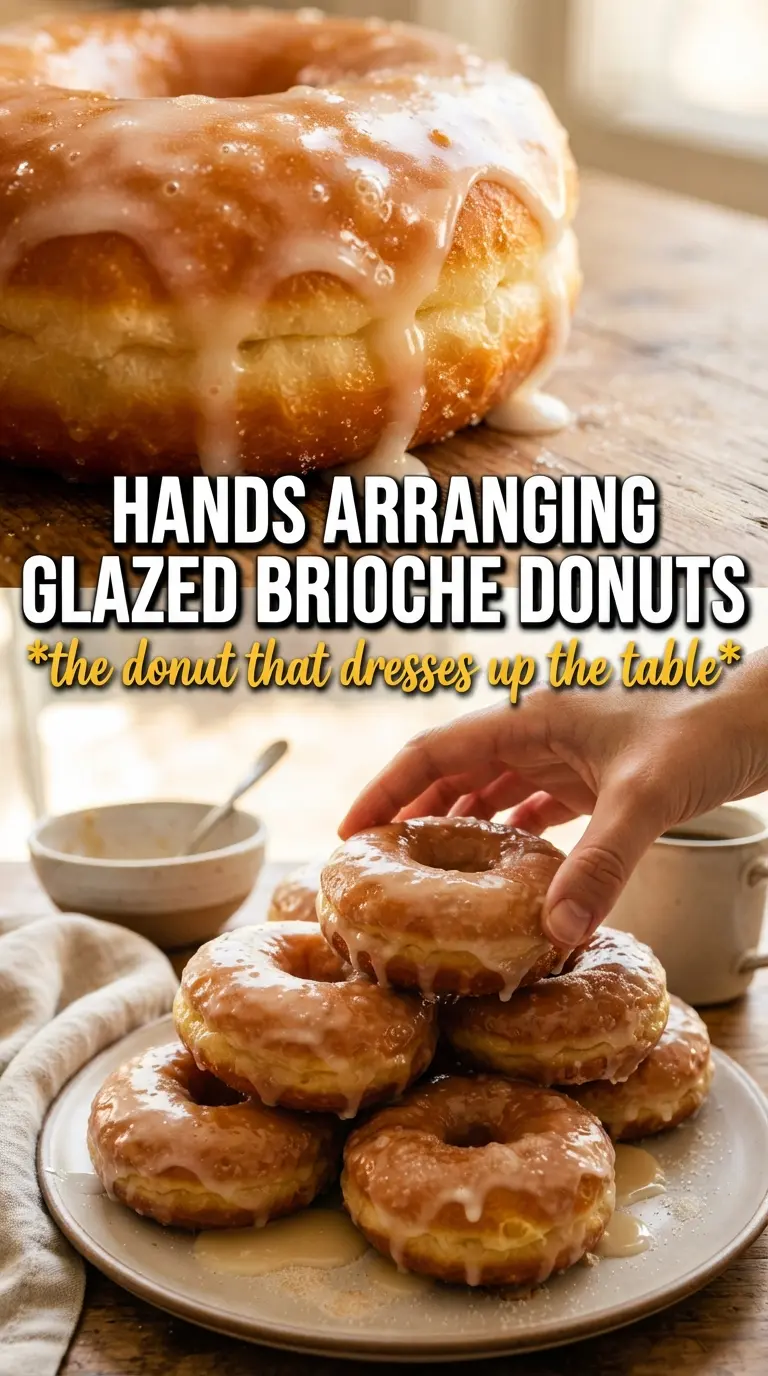
Cut the donuts after the first rise, then give them a second rise until they look puffy and relaxed. If they spring back instantly when you touch the edge, they need more time. That second proof is what makes the inside light instead of dense, and it also helps the donuts float properly when they hit the oil.
Shaping the Donuts
Roll the dough to a steady 1/2-inch thickness so the donuts cook evenly from edge to center. If you roll them too thin, they’ll fry up flat and dry; too thick, and the centers can stay doughy. Use a 3-inch cutter and keep the scraps covered while you work so the dough doesn’t dry out before the second rise.
Proofing Until Light and Puffy
After cutting, let the rounds rise until they look slightly airy and no longer spring back aggressively when touched. This usually takes 30 to 45 minutes, but the visual cue matters more than the clock. Underproofed donuts can burst and split in the oil, while overproofed ones may deflate when moved.
Frying at the Right Temperature
Bring the oil to 350°F and keep it there. If the oil runs cooler, the donuts soak it up and turn heavy; if it runs hotter, the outside browns before the inside cooks through. Fry just until each side is golden, about 90 seconds, then drain them briefly so the glaze clings instead of sliding off.
Glazing While Warm
Dip the donuts while they’re still warm, not piping hot. Warm dough helps the glaze set in a thin, even layer, but heat that’s too intense can make the glaze melt off the surface. Work one glaze at a time and add the sprinkles or edible decorations right away so they stick before the coating firms up.
How to Adapt These Donuts for Different Holiday Tables
Make them dairy-free
Swap the whole milk for an unsweetened non-dairy milk and use a plant-based butter that works for baking. The dough will still rise well, but the flavor will be a little less rich, so the glazes carry more of the final impression.
Lean fully into maple
Use the maple glaze as written and add a pinch of pumpkin pie spice to it if you want a warmer finish. This version tastes the most classic and has the cleanest, sweetest finish on the plate.
Use the cranberry glaze for a sharper finish
The cranberry glaze brings tartness that cuts through the rich dough, which keeps these from feeling heavy after a big meal. If your cranberry sauce is chunky, mash it smooth first so the glaze dips evenly and doesn’t drag on the donut surface.
Storage and Reheating
- Refrigerator: Store glazed donuts in an airtight container for up to 2 days. The glaze softens a bit, and the dough is best on day one.
- Freezer: Freeze the unglazed donuts for up to 1 month, wrapped well. Thaw at room temperature, then glaze just before serving.
- Reheating: Warm plain donuts in a 300°F oven for 5 to 7 minutes. Skip the microwave if you want to keep the crumb from turning chewy and the glaze from melting into the plate.
Answers to the Questions Worth Asking
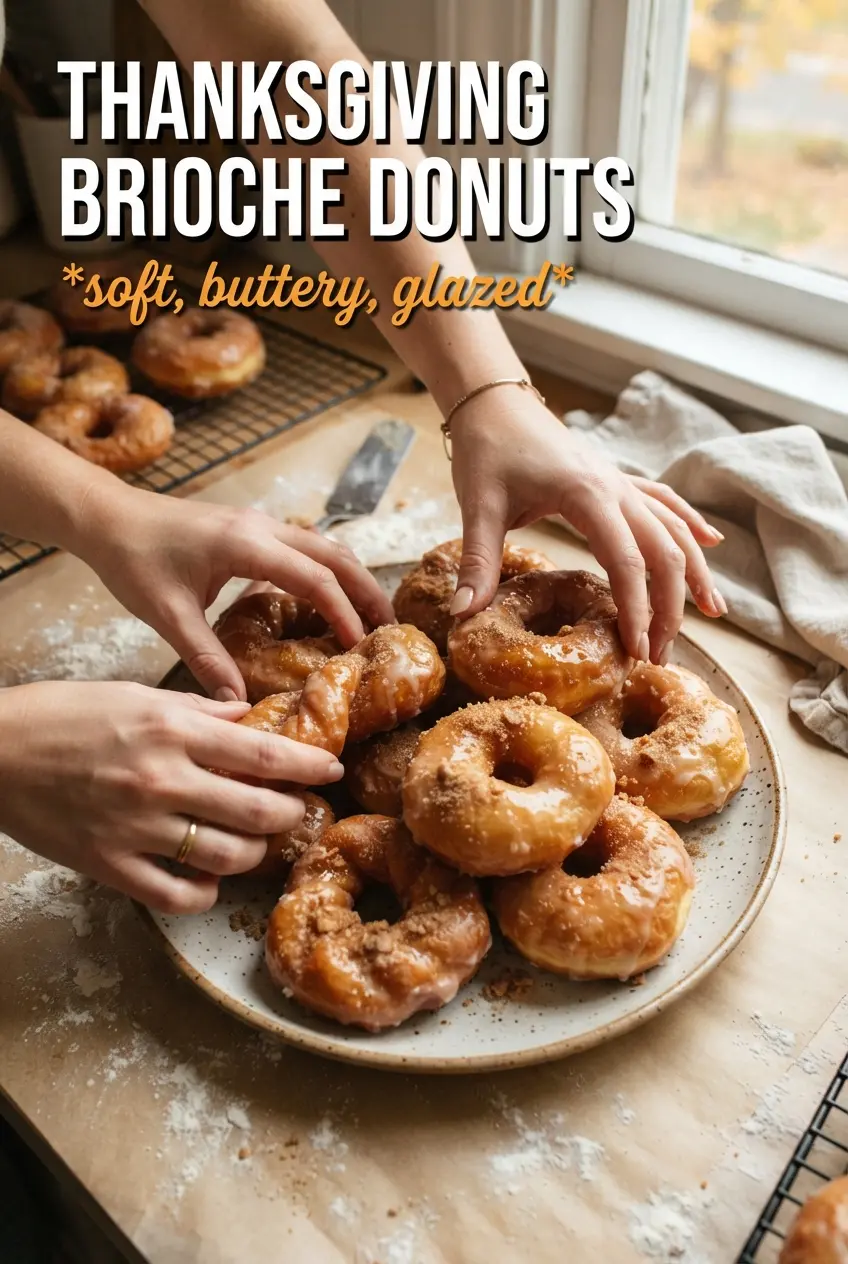
Thanksgiving Brioche Donuts
Ingredients
Equipment
Method
- In a bowl, warm the whole milk, then add yeast and sugar so they activate. Add eggs to the mixture.
- Add bread flour, salt, and pumpkin pie spice, then knead for 6 minutes until the dough starts coming together and looks smoother.
- Add the softened unsalted butter gradually, then knead for 8 more minutes until the dough is smooth and slightly tacky.
- Let the dough rise for 1 hour until puffy.
- Roll the dough to about 1/2-inch thickness, then cut 3-inch circles.
- Place the cut donuts on a tray and rise for 30–45 minutes until they look lighter and ready to fry.
- Heat vegetable oil in a Dutch oven to 350°F.
- Fry each donut for 90 seconds per side until golden brown, flipping once.
- Drain donuts briefly, then dip in your chosen glaze (pumpkin spice, maple, or cranberry) while still warm and decorate with fall sprinkles and edible decorations.