Thanksgiving Deviled Eggs disappear fast because they hit that sweet spot between nostalgic and playful: creamy yolk filling, a little tang from Dijon and vinegar, and a fun turkey look that gets everyone smiling before the first bite. The filling pipes up in a tall mound instead of sinking flat, so each egg feels a little more special on the platter.
The trick is in the texture. The yolks need to be mashed until completely smooth before the mayonnaise goes in, and the filling should be thick enough to hold the candy corn feathers without slumping. A touch of smoked paprika gives the yolks a deeper color and a little warmth, while the vinegar keeps the filling from tasting heavy.
Below, I’ve included the small details that make these work: how to get clean-peeling eggs, how to shape the filling so it stands up, and how to keep the candy decorations neat right up until serving.
The filling was smooth and held its shape perfectly, and the candy corn tails stayed put even after the eggs chilled. My kids lined them up like little turkeys before dinner.
Save these Thanksgiving Deviled Eggs for a festive appetizer with creamy yolk filling, candy corn tails, and the kind of holiday table charm people actually remember.
The Secret to Filling Deviled Eggs That Hold Their Shape
The biggest mistake with themed deviled eggs is making the filling too loose. Once mayonnaise and vinegar go in, it only takes a little extra mixing to turn the yolks from pipeable to soft and slippery, and that’s when the turkey feathers start sliding around. You want a filling that feels almost stiff in the bowl but still smooth enough to pipe cleanly.
Boiling the eggs, then letting them stand off the heat for 12 minutes, gives you cooked yolks without the gray ring that happens when they overcook. The ice bath matters just as much. It stops the cooking, helps the whites contract slightly, and makes peeling much easier. If your eggs are stubborn, crack them all over and peel under cool running water; the thin membrane usually comes off in one piece when the shell doesn’t.
What Each Ingredient Is Doing in These Thanksgiving Deviled Eggs
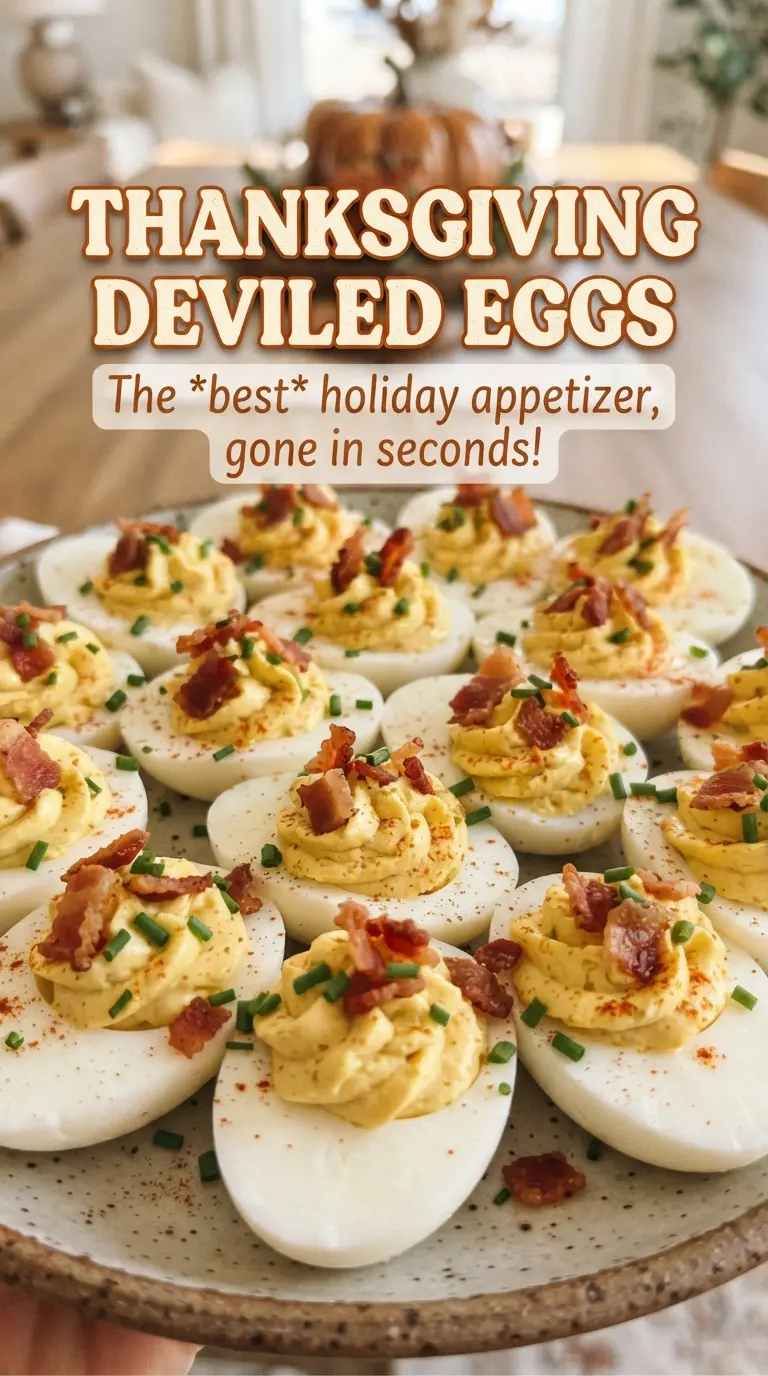
- Eggs — Use large eggs if you can. They give you enough white space to hold the filling and the decorations without crowding the plate.
- Mayonnaise — This is what makes the filling lush and pipeable. Full-fat mayo gives the best body; reduced-fat versions can taste thinner and make the filling less stable.
- Dijon mustard — Dijon brings sharpness and a little depth that plain yellow mustard doesn’t. It keeps the filling from tasting flat.
- Apple cider vinegar — Just enough acid to wake up the yolks. Lemon juice works in a pinch, but cider vinegar has a softer, more rounded bite here.
- Smoked paprika — This adds color and a hint of smoky warmth. Regular paprika works if that’s what you have, but the smoky version gives the filling more presence.
- Candy corn — These become the tail feathers, so choose pieces with clean edges and press them in after filling the eggs. If the filling is too soft, the candy will tilt instead of standing upright.
- Red bell pepper — Tiny triangles make neat beaks and add a fresh pop of color. Slice them as small as you can so they don’t overpower the turkey shape.
- Candy eyes — These are purely for the look, so use them right before serving if the surface of the filling is at all damp.
Building the Filling and Decorating the Turkeys
Getting the Yolks Smooth First
Pop the cooked yolks into a bowl and mash them until no dry bits remain. That step matters more than people think, because lumps show up immediately once the filling is piped. Stir in the mayonnaise, Dijon, vinegar, smoked paprika, salt, and pepper only after the yolks are smooth. If the mixture looks loose, keep mashing for another minute before adding more anything else; the texture often tightens up as the yolks break down fully.
Piping a Tall, Stable Mound
Spoon the filling into a piping bag or a zip-top bag with the corner snipped off, then pipe it high into each egg white half. Aim for a mound with a slight peak instead of a flat swirl. That shape gives the candy decorations something to grip, and it makes the eggs look more like little turkeys than standard deviled eggs. If the filling starts to spread, it’s too soft; chill it for 10 minutes and it will usually firm right up.
Adding the Candy Corn Feathers
Press four candy corn pieces into the back edge of each filled egg, point-side out, to make the tail fan. Add them after piping so you’re not fighting the filling while you decorate. A chilled egg base helps the candy stay put, and a firmer filling keeps the feathers from sinking backward. If the candy corn won’t hold, the filling is warm or too soft — refrigerate the eggs for a short stretch, then try again.
Finishing the Face
Use a tiny red bell pepper triangle for the beak and two candy eyes at the front of each mound. Press them in gently so they sit on the surface without squashing the filling. Assemble them close to serving time if your kitchen is warm, since candy eyes can start to slide on a damp filling after a while. Once decorated, keep the eggs chilled until they hit the table.
How to Adapt These Deviled Eggs for a Bigger Crowd or a Different Menu
Dairy-Free Without Changing the Texture
This recipe is already dairy-free as written, which makes it a strong choice for mixed holiday tables. Keep the mayonnaise full-fat for the creamiest filling, since that’s doing the work that dairy would usually handle in other deviled egg recipes.
Making Them Ahead for a Holiday Spread
Boil, peel, and halve the eggs a day ahead, then mix the filling separately and refrigerate it in a sealed bag or container. Assemble the eggs and add the decorations the day you plan to serve them, because the candy eyes and candy corn look best when they’re freshly placed.
Swapping the Decorations for a Savory Table
If you want a more classic appetizer, skip the candy corn, bell pepper, and candy eyes and finish the eggs with an extra dusting of smoked paprika or a little chopped chive. You’ll lose the turkey look, but the filling itself stays the same: creamy, tangy, and holiday-friendly.
Storage and Reheating
- Refrigerator: Store covered for up to 2 days. The decorations hold best on day one, but the eggs are still good after that.
- Freezer: Don’t freeze deviled eggs. The whites turn watery and rubbery after thawing, and the filling loses its smooth texture.
- Reheating: Serve chilled or at cool room temperature. Reheating isn’t part of the method here, and warmth softens the filling until the candy decorations start sliding.
Questions I Get Asked About This Recipe
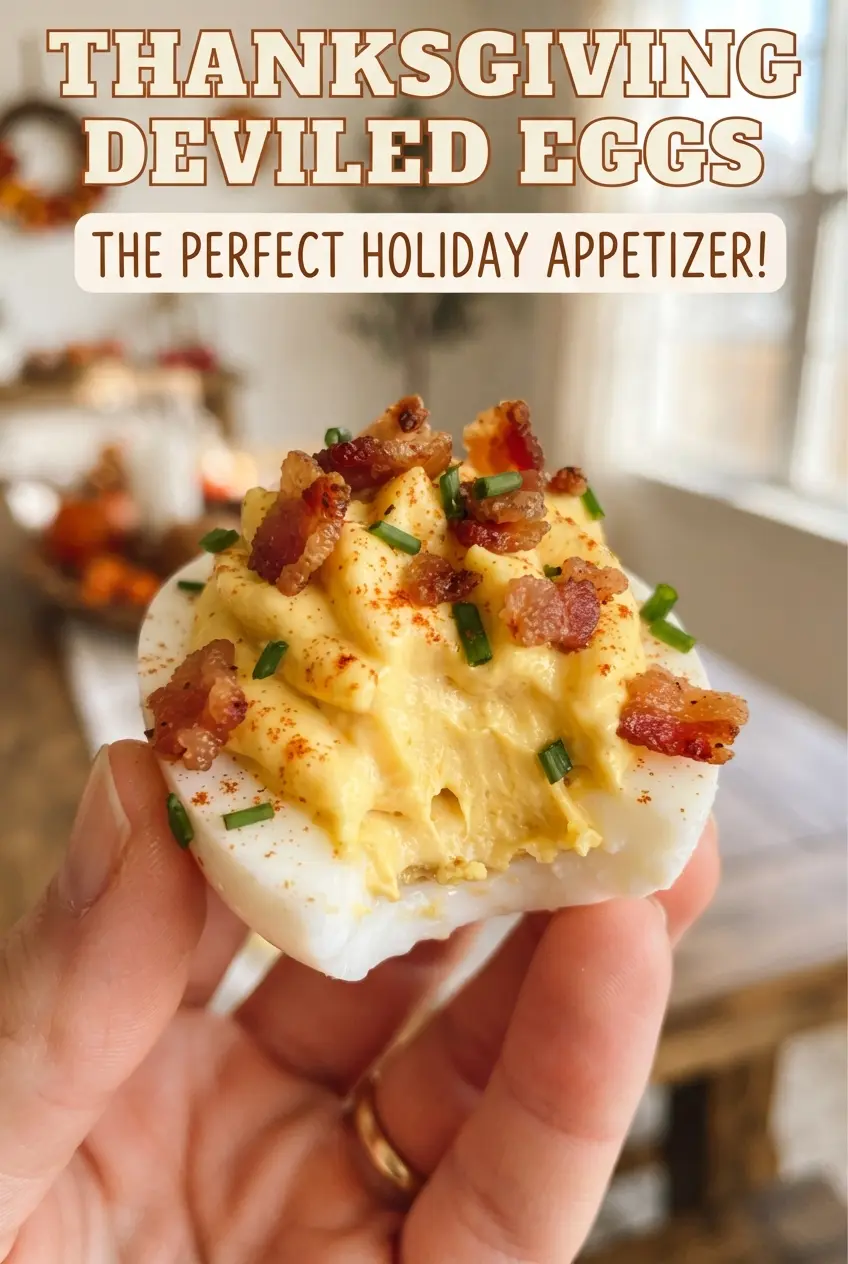
Thanksgiving Deviled Eggs
Ingredients
Method
- Place the eggs in a pot and cover with cold water, then bring to a boil. Keep the heat steady until the water reaches a full boil.
- Cover the pot, remove from the heat, and let stand for 12 minutes. The eggs should set through with tender yolks.
- Transfer the eggs to an ice bath and chill thoroughly, then peel. Peel while they are cold for cleaner halves.
- Halve the eggs lengthwise. Scoop the yolks into a bowl and leave the whites intact.
- Mash the yolks with mayonnaise, Dijon mustard, apple cider vinegar, smoked paprika, salt, and pepper until smooth. Taste and adjust seasoning as needed.
- Pipe the filling into the egg whites in a tall mound. Fill each half generously for a turkey-like profile.
- Press 4 candy corn pieces into the back of each egg to make tail feathers. Fan them slightly so they flare outward.
- Add a bell pepper beak and two candy eyes to the front of each mound. Place them centered so the face reads clearly.
- Chill the deviled eggs until serving. Keep them covered so the filling stays fresh.