Skillet corn with honey butter hits that sweet spot between weeknight simple and the kind of side dish people keep sneaking spoonfuls of straight from the pan. The corn gets a real sear before the honey butter goes in, so instead of tasting steamed or flat, each kernel picks up little charred edges and a glossy coating that clings. The honey softens the corn’s natural sweetness without turning the dish into candy, and the smoked paprika keeps the whole thing grounded.
The part that makes this version work is the order. If you add the butter and honey too early, the corn steams and the pan never gets hot enough to build those browned spots. Start with a dry, hot skillet, let the kernels sit long enough to color, then finish with the garlic, spices, and honey butter so everything stays bright and buttery instead of greasy. A pinch of flaky salt at the end pulls the sweet, smoky, and savory notes together.
Below, I’ve included the one pan trick that keeps the corn from going pale, plus a few easy ways to adapt it if you’re using frozen corn or want a little more heat.
The corn got those little browned spots I was hoping for, and the honey butter coated every kernel without making it soggy. I served it with grilled chicken and my husband kept going back for one more scoop.
Like this skillet corn with honey butter? Save it to Pinterest for the nights when you want a fast side with caramelized edges and a glossy sweet-savory finish.
The Corn Has to Sear Before the Honey Goes In
The biggest mistake with skillet corn is crowding the pan and rushing straight to the butter-honey finish. Corn throws off moisture as it heats, and if the skillet isn’t hot enough or the kernels are piled up, they’ll steam before they ever brown. That leaves you with sweet corn, but not the deep, savory edge that makes this side dish worth repeating.
Cast iron helps here because it holds heat when the corn first hits the pan. Let the kernels sit undisturbed for a few minutes so they can develop browned spots, then toss and let the other side catch color. Once the garlic and spices go in, the heat should come down a bit; garlic burns fast, and burnt garlic is the quickest way to flatten the whole dish.
What the Butter, Honey, and Smoke Are Each Doing
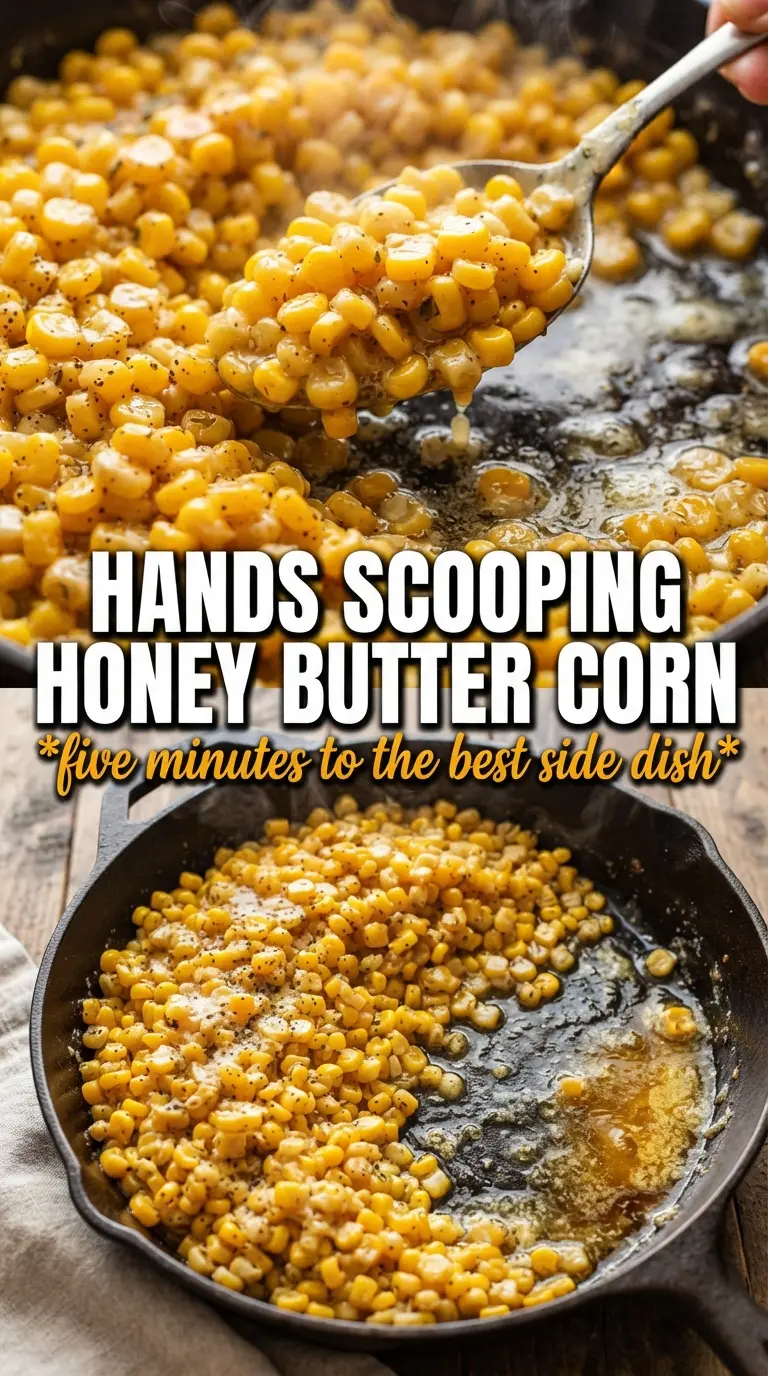
- Corn — Fresh kernels give the best pop and sweetness, but thawed frozen corn works well if you dry it first. Wet corn will steam, so pat frozen kernels dry before they hit the skillet.
- Butter — Dividing the butter matters. A little goes in first for browning and a little goes in at the end for sheen and body. If you use all the butter at the start, the pan loses the dry heat needed for char.
- Honey — Honey brings the glaze together and helps it cling to the corn. Maple syrup will work in a pinch, but it tastes a little more woodsy and less floral.
- Smoked paprika and cayenne — The paprika gives the dish warmth and a gentle smoky edge, while the cayenne keeps the sweetness from tasting one-note. If you want mild corn, cut the cayenne in half rather than leaving it out completely.
- Chives and flaky salt — These finish the dish with freshness and crunch. The flaky salt is worth using here because it lands in little bright bursts instead of dissolving into the sauce.
How to Build the Glossy Finish Without Losing the Char
Get the Pan Hot and Keep the Corn in One Layer
Melt the first portion of butter in a large cast iron skillet over high heat, then add the corn and spread it out. You want contact with the pan, not a mound of kernels piled on top of each other. If the corn starts to look wet and pale instead of sizzling, the pan is too crowded or not hot enough. Let it sit until the bottoms pick up browned spots before you move anything around.
Wake Up the Garlic and Spices
Once the corn has some color, reduce the heat before adding the garlic, smoked paprika, and cayenne. Garlic only needs about a minute; it should smell fragrant, not sharp or bitter. If the garlic starts to brown hard, the heat is too high, and the dish will taste harsh instead of sweet and buttery.
Finish With Honey and the Remaining Butter
Add the rest of the butter and the honey and toss until every kernel looks shiny and coated. At this point, the corn should still hold its shape, but the skillet should have a light glossy glaze in the bottom. Season generously with salt and black pepper, then finish with chives and flaky sea salt right before serving so the top stays fresh and the salt doesn’t disappear into the sauce.
How to Adapt Skillet Corn for Different Pans, Heat Levels, and Diets
Use frozen corn without watering down the skillet
Thaw the corn first and pat it dry with a clean towel or paper towels. Frozen corn holds more surface moisture than fresh, and if that moisture stays in the pan, you’ll lose the browning that gives this dish its flavor.
Make it dairy-free
Use a good plant-based butter that browns well and keeps a rich texture. The dish will still taste sweet and smoky, though it won’t have quite the same round finish as real butter.
Turn up the heat
Add a pinch more cayenne or a little crushed red pepper with the garlic. That keeps the heat tied to the buttery glaze instead of sprinkling it on at the end, where it can taste uneven.
Make it ahead for a crowd
Cook the corn through the charred stage, then stop before the honey goes in. Right before serving, rewarm it in the skillet with the remaining butter and honey so the coating stays glossy and the corn doesn’t turn soft.
Storage and Reheating
- Refrigerator: Store leftovers in an airtight container for up to 3 days. The corn will soften a bit, but the flavor holds up well.
- Freezer: It freezes, though the texture gets softer after thawing. Freeze in a flat layer, then reheat straight from frozen in a skillet if you want to preserve as much bite as possible.
- Reheating: Rewarm in a skillet over medium heat with a small splash of water or a dab of butter. The common mistake is blasting it in the microwave until the honey tightens and the corn turns rubbery.
Questions I Get Asked About This Recipe
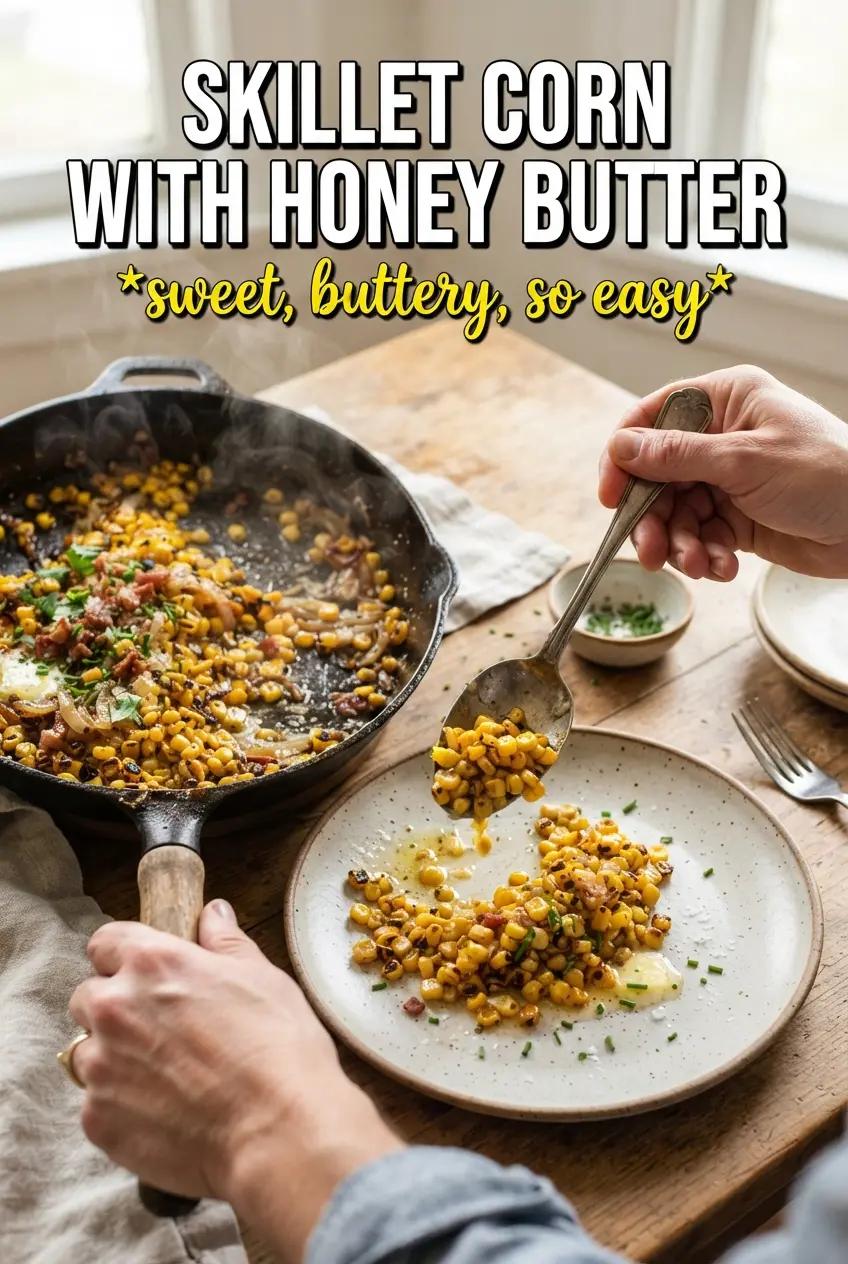
Skillet Corn With Honey Butter
Ingredients
Equipment
Method
- Melt 2 tablespoons butter in a large cast iron skillet over high heat until sizzling and just foaming.
- Add corn in a single layer and cook without stirring for 3-4 minutes, until the bottom develops charred spots and deep golden color.
- Toss the corn and cook another 3-4 minutes without rushing, until additional sides are browned and glossy.
- Reduce heat to low, then add garlic, smoked paprika, and cayenne and cook for 1 minute, stirring just to prevent burning.
- Add the remaining butter and honey, then toss until the corn is evenly coated and the sauce looks glossy.
- Season generously with salt and black pepper so the flavor comes through the caramelized corn.
- Top with fresh chives and flaky sea salt, so you get fresh color and a final salty crunch on the warm corn.