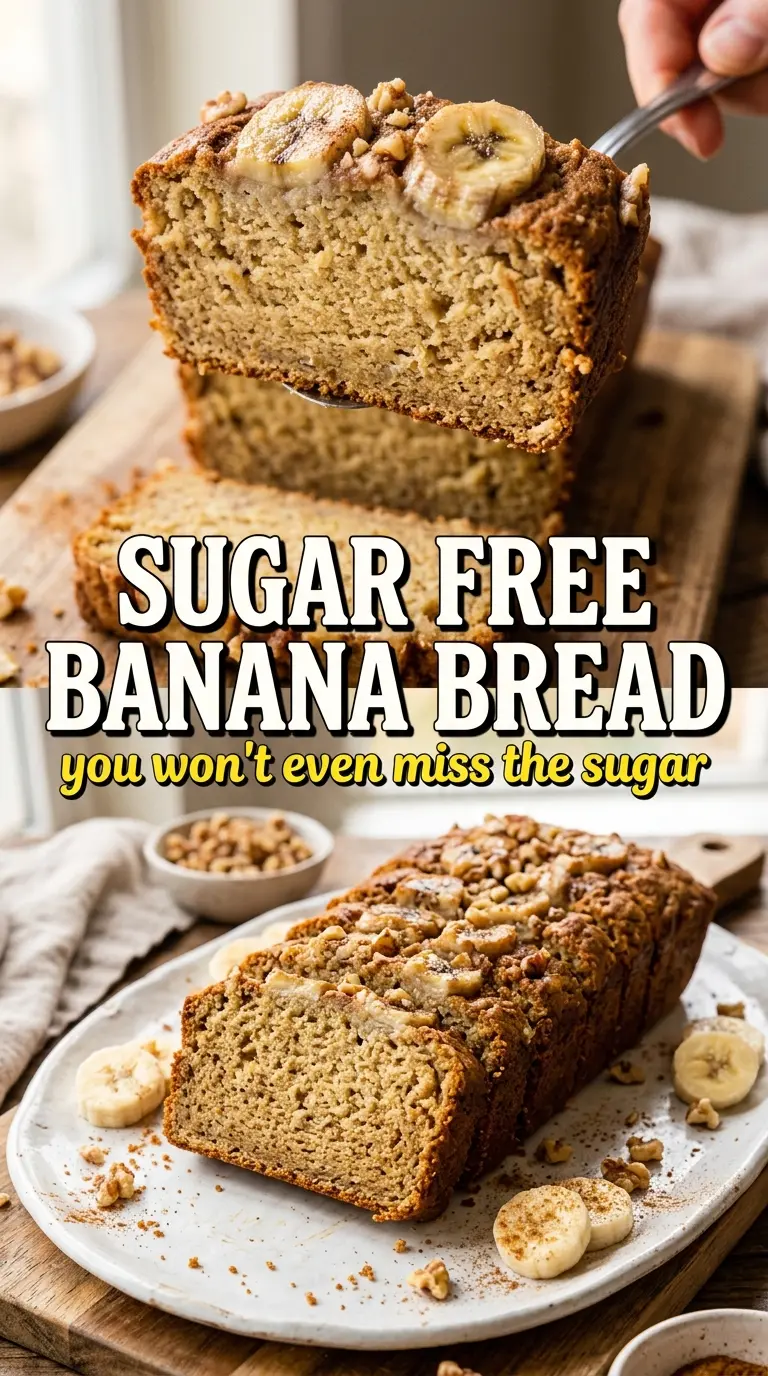
Golden banana bread doesn’t need added sugar to taste like comfort. When the bananas are deeply speckled and almost overripe, they bring enough sweetness on their own, along with that soft, fragrant crumb people want from a good loaf. This version bakes up moist in the middle with a gently crisp top and slices cleanly once it cools, which is the part a lot of banana breads miss.
The trick is leaning on very ripe bananas and keeping the batter just barely mixed. Applesauce helps keep the loaf tender without making it heavy, and melted coconut oil gives the crumb a soft richness that feels complete even without brown sugar. A little cinnamon rounds out the banana flavor instead of competing with it.
Below, I’ve included the small details that matter most: how ripe the bananas should be, why the loaf needs that full cooling time, and a few swaps that still keep the bread firmly in the sugar-free lane.
The loaf came out moist and held together beautifully once it cooled. I used bananas that were almost black, and the flavor was sweet enough that nobody missed the sugar at all.
Love how this sugar free banana bread turns out golden and naturally sweet? Save it to Pinterest for ripe bananas, quick breakfasts, and low sugar baking days.
The Banana Ripeness Is Doing More Work Than the Sugar Ever Could
With sugar-free banana bread, the bananas are not just an ingredient. They’re the sweetener, the moisture, and a good part of the flavor. If the bananas are only lightly spotted, the loaf can taste flat and the crumb won’t have the same plush texture. You want bananas that are soft, heavily speckled, and fragrant enough that they smell almost jammy before you mash them.
The other place people run into trouble is overmixing. Once the flour goes in, the batter should still look a little rough. Stirring until it’s smooth develops the gluten and turns a tender loaf into something tight and bready. The loaf also needs time to cool before slicing, because the structure finishes setting as it rests.
- Very ripe bananas — These replace the sweetness you’d usually get from sugar. The darker the peel, the better the loaf tastes.
- Unsweetened applesauce — This adds moisture and helps keep the crumb soft. It won’t make the bread taste like apples; it just fills in for some of the tenderness sugar usually provides.
- Coconut oil — Melted coconut oil gives a clean, rich texture. Neutral oil works too, but you lose a little of that gentle bakery-style flavor.
- Flour choice — All-purpose gives the lightest crumb. Whole wheat works if you want a heartier loaf, but it will be denser and a touch more rustic.
What Each Ingredient Is Actually Doing in This Loaf
- Bananas — Use the ripest ones you’ve got. This is where the sweetness comes from, so under-ripe bananas won’t give you the same result.
- Eggs — They hold the loaf together and help it rise. I haven’t found a swap that gives quite the same structure, but a flax egg can work if you accept a denser slice.
- Coconut oil — It keeps the bread moist after baking. Melt it first, then let it cool slightly so it doesn’t scramble the eggs.
- Applesauce — It adds softness without extra sugar. If you’re out, plain Greek yogurt works, but the loaf will be a little richer and less delicate.
- Baking soda — It reacts with the bananas and helps the loaf rise. Don’t swap in baking powder here unless you change the rest of the formula.
- Cinnamon — It supports the banana flavor without overpowering it. Leave it out if you want a plainer loaf, but it does help the bread taste more complete.
Getting the Batter Into the Pan Without Losing the Tender Crumb
Mix the Wet Ingredients Until the Bananas Disappear
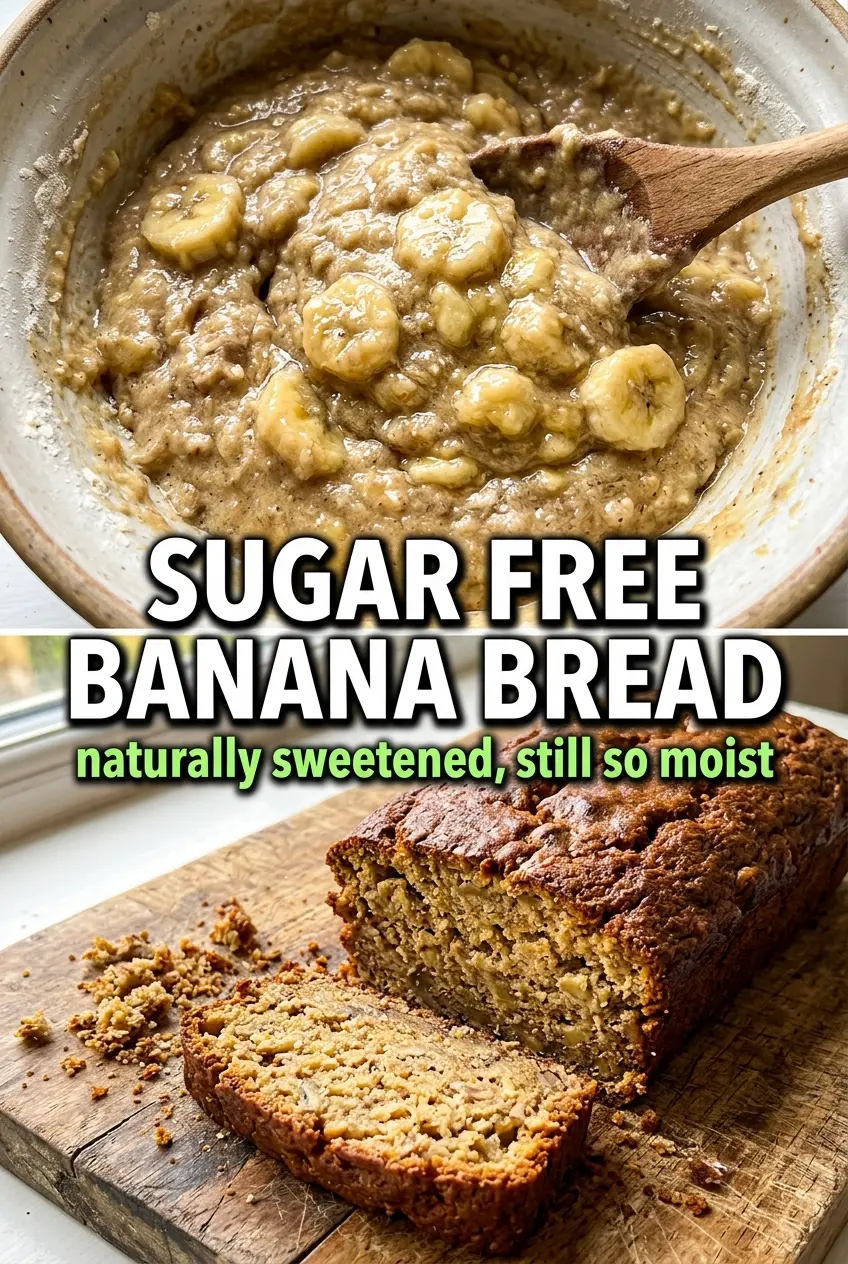
Start by whisking the mashed bananas, eggs, melted coconut oil, vanilla, and applesauce until the mixture looks cohesive and glossy. A few banana flecks are fine, but you don’t want big pockets of banana because they bake into gummy spots. If the coconut oil starts to firm up in the bowl, it means the mixture was too cold; warm it slightly and whisk again before adding the dry ingredients.
Fold the Flour in Just Until the Batter Comes Together
Add the flour, baking soda, cinnamon, and salt, then fold with a spatula until the dry streaks disappear. Stop there. The batter should look thick and a little uneven, not silky smooth. If you’re adding chocolate chips or nuts, fold them in at the very end so they don’t get crushed or sink to the bottom.
Bake Until the Center Is Set, Not Just Browned
Scrape the batter into a greased 9×5 loaf pan and smooth the top so it bakes evenly. The loaf is done when the top is deeply golden, the edges pull away slightly from the pan, and a toothpick in the center comes out clean or with just a few moist crumbs. If the top browns too fast before the center is baked, lay a piece of foil loosely over the pan for the last part of baking.
Cool the Loaf Before You Slice It
This is the part people rush, and it’s why banana bread turns mushy. The loaf firms up as it cools, and the steam inside finishes settling the crumb. Wait until it’s fully cool before slicing, or you’ll lose neat slices and some of the structure you worked for.
Three Ways to Keep It Sugar Free Without Making It Boring
Add sugar-free chocolate chips for a dessert-style loaf
Fold in sugar-free chocolate chips just before baking for pockets of extra sweetness without changing the base recipe. This makes the bread taste richer and a little more indulgent, but it also adds moisture, so keep an eye on the center and don’t pull it too early.
Use whole wheat flour for a heartier breakfast loaf
Swap in whole wheat flour for a nuttier, more rustic crumb. The loaf will be a little denser and less airy, so don’t expect the same soft, pale slice you get with all-purpose flour.
Make it dairy-free without changing the method
This recipe is already dairy-free as written if you skip the optional mix-ins that contain dairy. That means the texture stays exactly the same, and you don’t have to adjust the batter at all.
Swap the loaf pan for muffins when you want faster portions
Divide the batter into muffin cups and bake until the centers spring back and a tester comes out clean. You’ll get quicker bake time and easier grab-and-go portions, but the edges will be more muffin-like and you’ll lose that classic banana bread slice.
Storage and Reheating
- Refrigerator: Store tightly wrapped for up to 5 days. The crumb firms up a bit in the fridge, but the flavor stays good.
- Freezer: Freezes well. Wrap the cooled loaf or individual slices tightly and freeze for up to 3 months.
- Reheating: Warm slices in the toaster oven or microwave just until heated through. Don’t overheat them or the bread will dry out fast.
Answers to the Questions Worth Asking
Sugar Free Banana Bread
Ingredients
Equipment
Method
- Preheat oven to 350°F, then grease a 9x5 loaf pan so the loaf releases cleanly after baking.
- Mash the very ripe bananas until smooth, aiming for a thick puree texture that will combine evenly into the batter.
- Whisk mashed bananas, eggs, melted coconut oil, vanilla extract, and applesauce until smooth and fully combined.
- Fold in all-purpose or whole wheat flour, baking soda, cinnamon, and salt just until no dry streaks remain to keep the loaf tender.
- Fold in sugar-free chocolate chips or chopped nuts if using, distributing them through the batter without overmixing.
- Pour the batter into the prepared loaf pan and smooth the top so it bakes evenly.
- Bake at 350°F for 60–70 minutes, until the top is deeply golden and a toothpick inserted in the center comes out clean.
- Cool completely before slicing, since the bread firms up significantly as it cools for cleaner slices.